
In honor of the season, I made some little ornaments for the ladies to select.

Some are made from a piece of needle-felted batik enriched with silk roving and other fibers. The shiny one on the left is made with Textiva film and bits of ribbons and threads that I fused to a piece of Timtex with Misty Fuse.
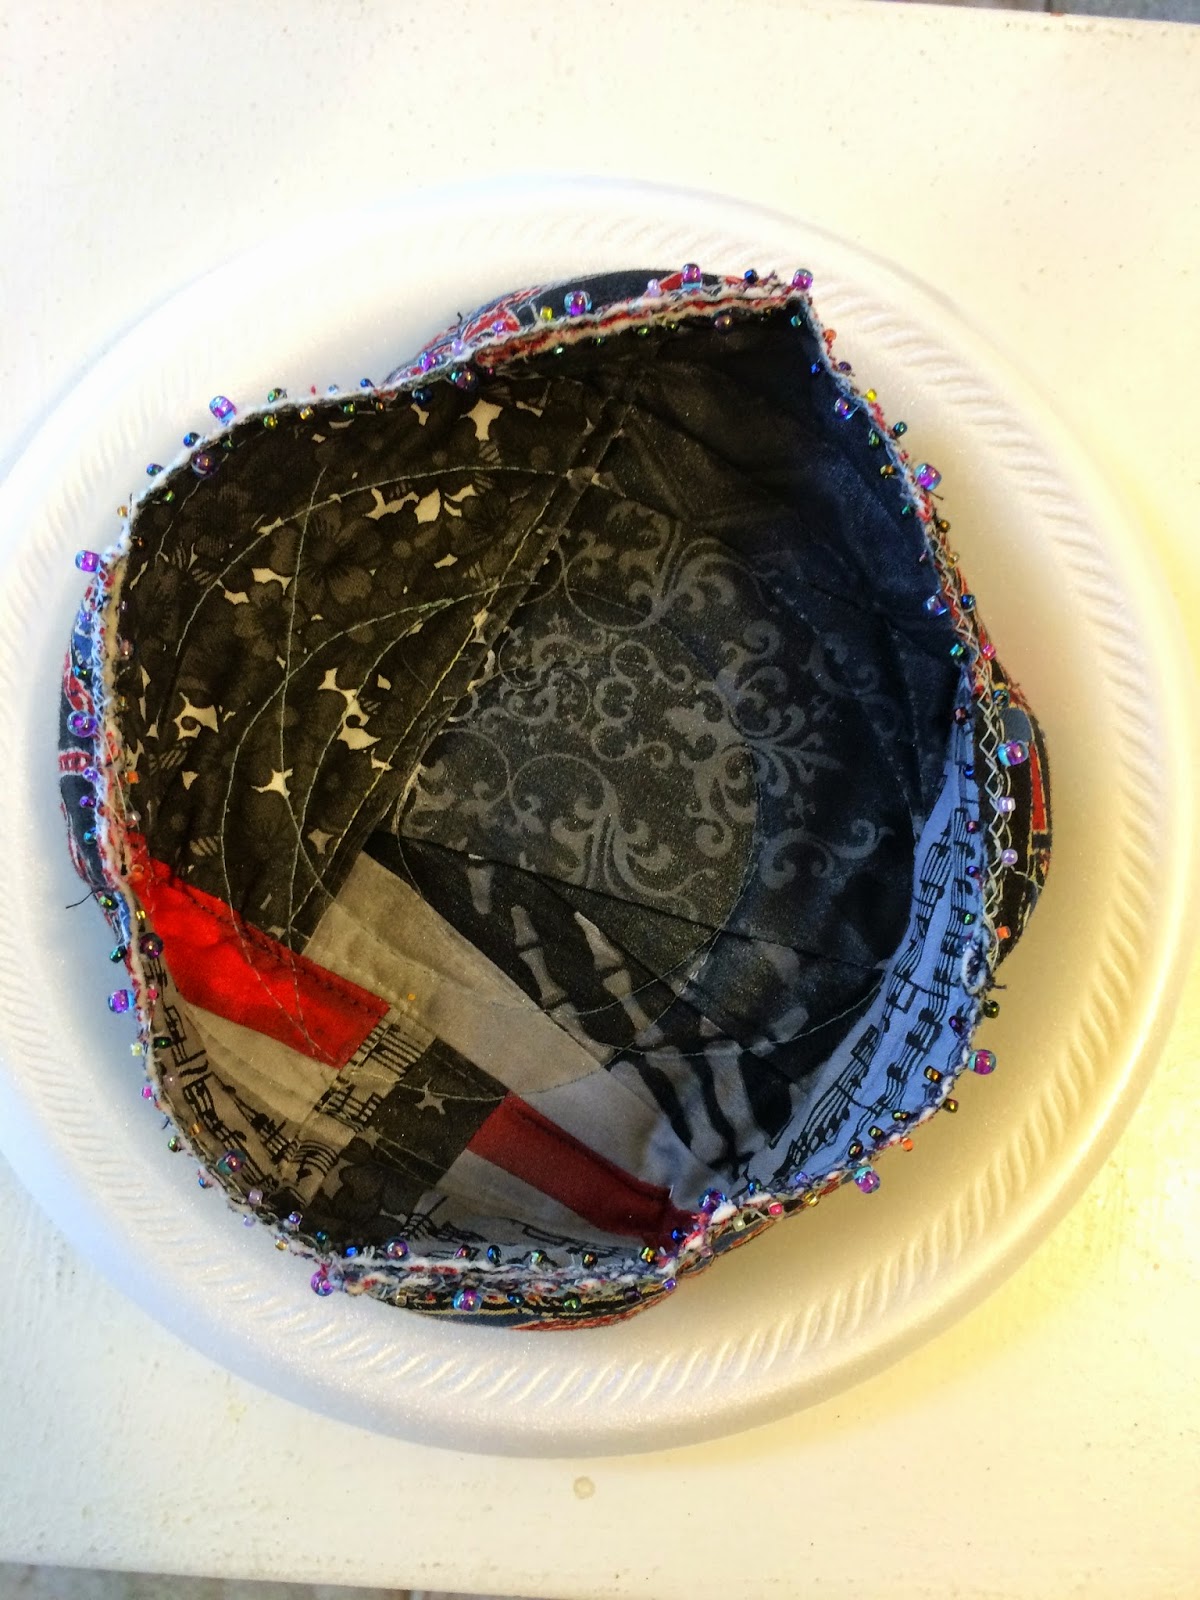
Here it is, upside down...thanks, Blogger!

I made quite a few of these but they were snapped up yesterday at the art quilt bee meeting! Each one has a little bead, mostly ones that I made from Shrinky-Dinks painted with Lumiere paint.


Roberta made us each a fabric-covered notebook covered in cheery Ultra-Suede.

Sideways this time! What's going on?
Tomorrow it will be Christmas brunch in Wake Forest with my Whacky Ladies bee. I don't get to participate in all their meetings anymore due to the distance involved in driving at night, and also because we often leave for the mountain cabin on Thursday nights. But I am looking forward to seeing them again tomorrow!
 Yesterday I mentioned that I would be experimenting with Shrinky-Dinks. This is a type of film that you can decorate with heat-set paints, colored pencils, acrylics, or other media, then bake for a few minutes in the oven. I decided to paint with Lumiere paints, most of which have a metallic gleam. I just painted some basic shapes and embellished with dots and squiggles. The words were added with a silver pen.
  You cut them out and punch a hole prior to baking. For sewing down these charms, it would have been helpful to have two holes, or it just dangles.


 Now I have added the outer frame. After auditioning a lot of fabrics, I chose this embroidered pink linen-type fabric. It came from a skirt I bought at the Goodwill thrift shop and deconstructed. It has embroidered daisy-like flowers in gleaming threads. I like the look, but it was a mistake to have one of the embroidered parts at a corner. Hard to miter over all that thickness!
 I added some beads and silk flowers and a yo-yo.
