
Martha Armstrong is a Stampin' Up teacher and demonstrator, and has been teaching classes on making quilt tops from die-cut appliques. Sometimes after a class, she brings her students over to me to do the quilting. They make the tops in several hours, with the appliques clinging to the background fabric with glue stick.
This one was made by Jean from Mechanicsville, Virginia.

Instead of stacking the center shape in the middle, she chose to offset it for a different look.

I took my quilting design from the swirly background fabric. The quilting is all swirls in a buttercup yellow thread.

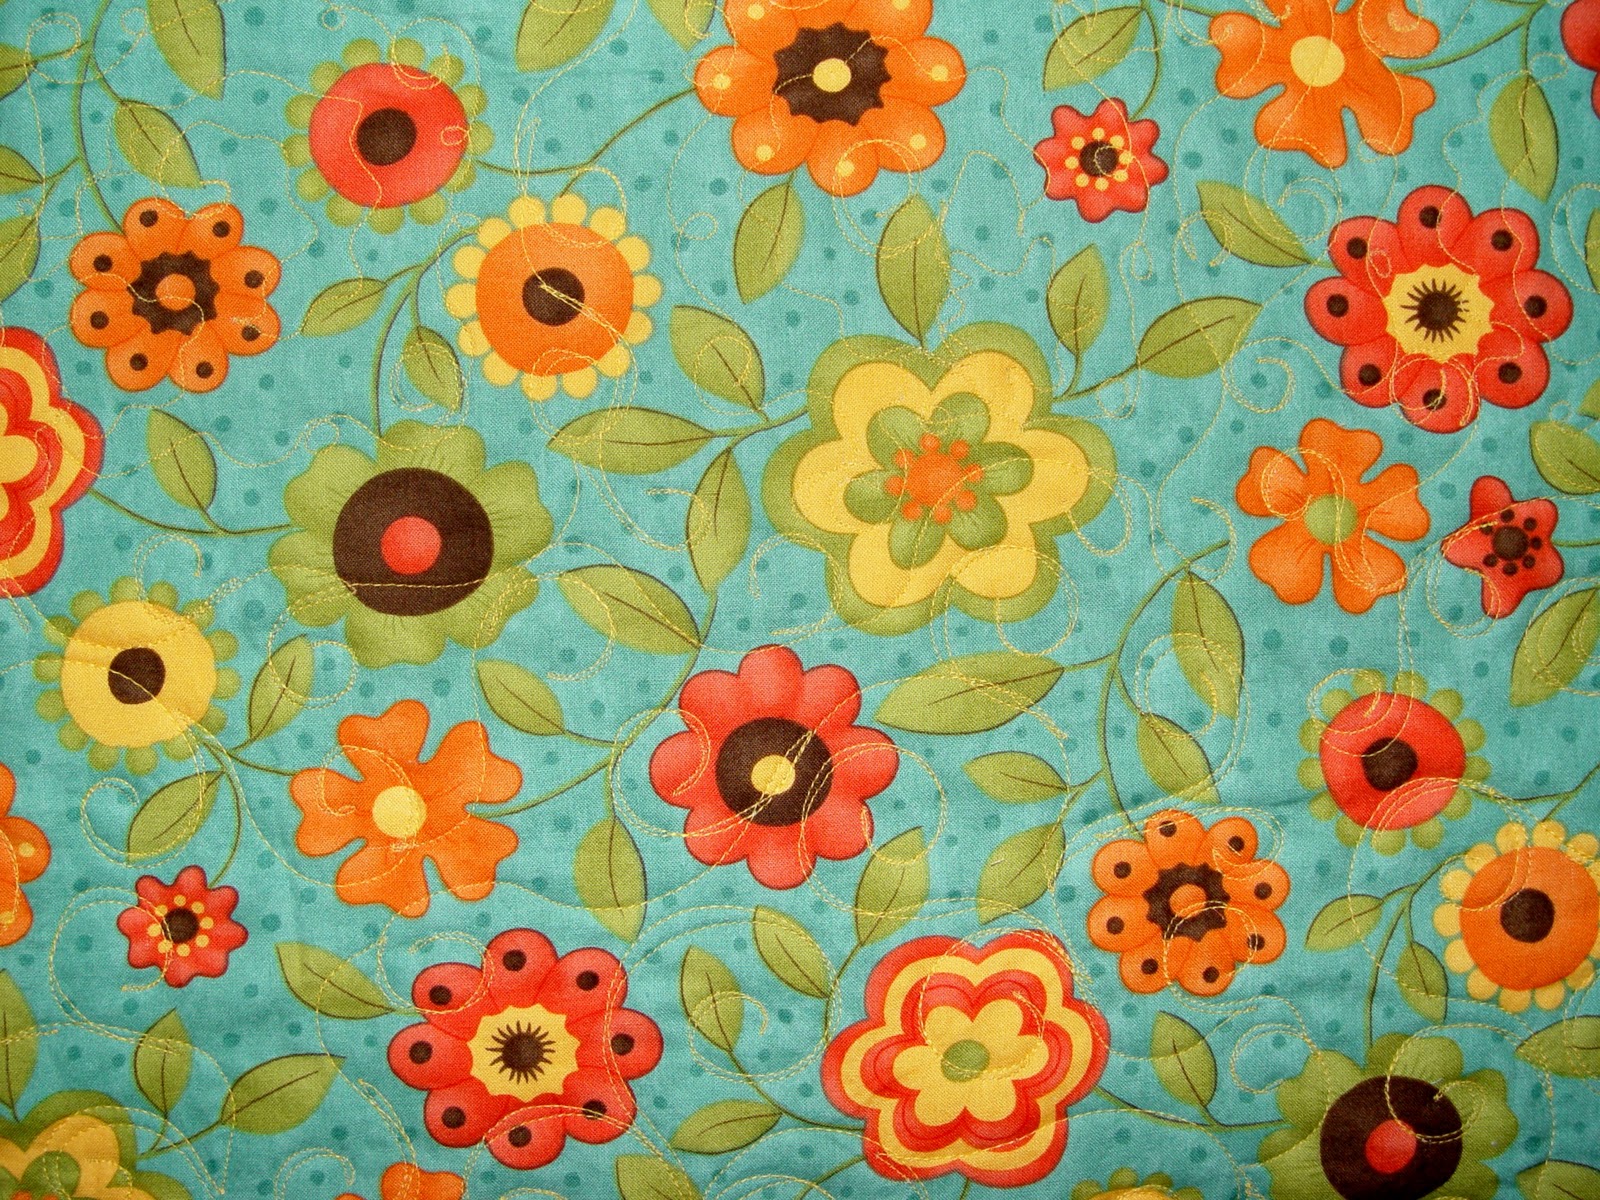
The backing fabric is this pretty teal floral print that coordinates with the Moda Bake Shop "Layer Cakes" she used for the appliques.
The second quilt is like deja-vu all over again...almost. Tammy used the same Layer Cake fabric , but on a pale yellow background.

On this one, I decided to quilt in some flowers and leaves as well as swirls.

When I got to the very last row, I noticed that one of the flowers had lost its center applique. Here is another reason for the four inches of extra fabric that longarmers like to have on each side. I made a pattern from one of the centers and cut out a new one from a piece of the extra side fabric. This is the first time one of those glued pieces has "unstuck" itself and gotten lost!
The backing of Tammy's quilt is the same as Jean's, but in a different colorway. I used it to draw out some potential quilting motifs. In that way, the quilting really becomes part of the design.

In this case, I used a piece of Golden Threads tracing paper and drew freehand shapes. You could also trace the shapes directly. Caution: use washable markers if you plan to keep the "style sheet" on the quilt top as a reference while you work. Or, if the design is complicated, you can stitch right through the paper. I have done that sometimes when quilting animals or other designs from Laura Lee Fritz' book, 250 Continuous Line Quilting Designs. I prefer to just stitch freehand so I don't have to pick out all the little bits of paper! Here is an example of a quilt that I stitched through the tracing paper.


 Using a variegated thread with both dark and light areas brings up the problem of what to use as a bobbin thread.In a perfect world, you will never see evidence of "pokies" or thread showing, and shouldn't matter if you use different colors. But it is not a perfect world, is it? If you use the variegated on the back, the color changes will never match. I usually select a Super Bob bobbin with Bottom Line thread in a neutral color. This time, when I auditioned a rust-colored thread, it showed up on the yellow top threads. I ended up using a light golden brown thread called Baguette, but it did show up slightly on some of the dark blue thread areas.


 The three shapes comprising each flower have to be stitched around in order to attach them to the quilt. I used a wiggly circle that somewhat echoes the scalloped edge of each flower piece. The edges will fray if you choose to wash the quilt, for that soft cottage look.
 63 flowers x 3 pieces = 189 circular trips around. I upped my price after doing the first one of these!
 Martha intends to wash her quilt to achieve the shabby chic look. This morning she told me that she had not pre-washed any of her fabrics, including this almost fire-engine red backing. Uh-oh! I guess you can't really pre-wash the jelly rolls and layer cakes that come pre-cut, or they would fray before you even use them.


 Susan has a
 With all these daisy-type flowers, I of course had to do some flower-power quilting! Lots of petals, leaves, vines, and swirls.

