Here is the gift that I selected to give to a member of my quilt bee during our gift exchange tomorrow.
It is a turned-wood needle holder by Meiki's Designs, which I purchased at the Vendor Mall of the Ashe County Piecemakers Quilt Fair back in September in West Jefferson, NC. The maker is http://meikisdesigns.com . Fortunately, I was able to find it in time for our Whacky Ladies party tomorrow. Sometimes when I buy gifts way in advance, they disappear before it is time to give them away!
I decided to make a little "holder for the holder," or a little cloth bag to put it in. Here is when it is handy to have a supply of pre-painted, pre-quilted fabric ready to cut up and sew.
All I did was zigzag a piece of pretty fiber all around the edge, sew on a button, and wrap some more fiber around the button to close.
Here is the back view of the little needle case.
In case you are interested, the blue and green fabric was made by squeezing Elmer's glitter glue onto muslin, then painting with Setacolor and other fabric paints. When you remove the glue, you have markings on the fabric where the glue resisted the paint. The outside flap was painted with Shiva Paint Stiks. You can see how I made them here if you scroll down through the post.
After the party tomorrow morning, I have to do some cooking before my husband's Christmas dinner for the office tomorrow night. Yes, it was just Thanksgiving last weekend, but this weekend my son and his family from South Carolina will be coming up for our family Christmas. When you work in retail and also have to share children among multiple sets of parents for the holidays, you have to celebrate when you can. We are looking forward to seeing them and having an early Christmas!
I like to make all kinds of quilts, from postcard to king-size. I have a Gammill longarm quilting machine, several domestic sewing machines, and also work with a Babylock Embellishing machine. In the past few years, I have tried my hand at painting with watercolors and art journaling. I also throw in a little nature photography and the occasional travel or grandchild pictures. Thanks for stopping by!
Thursday, December 4, 2014
Christmas Surprises
It's Christmas week for two of my quilting groups. Yesterday the Anything Art group met at Ruth-Ellen's for our annual holiday lunch to celebrate Christmas and Hanukkah. We all helped make the potato latkes, and Ruth-Ellen made the kugel.
In honor of the season, I made some little ornaments for the ladies to select.
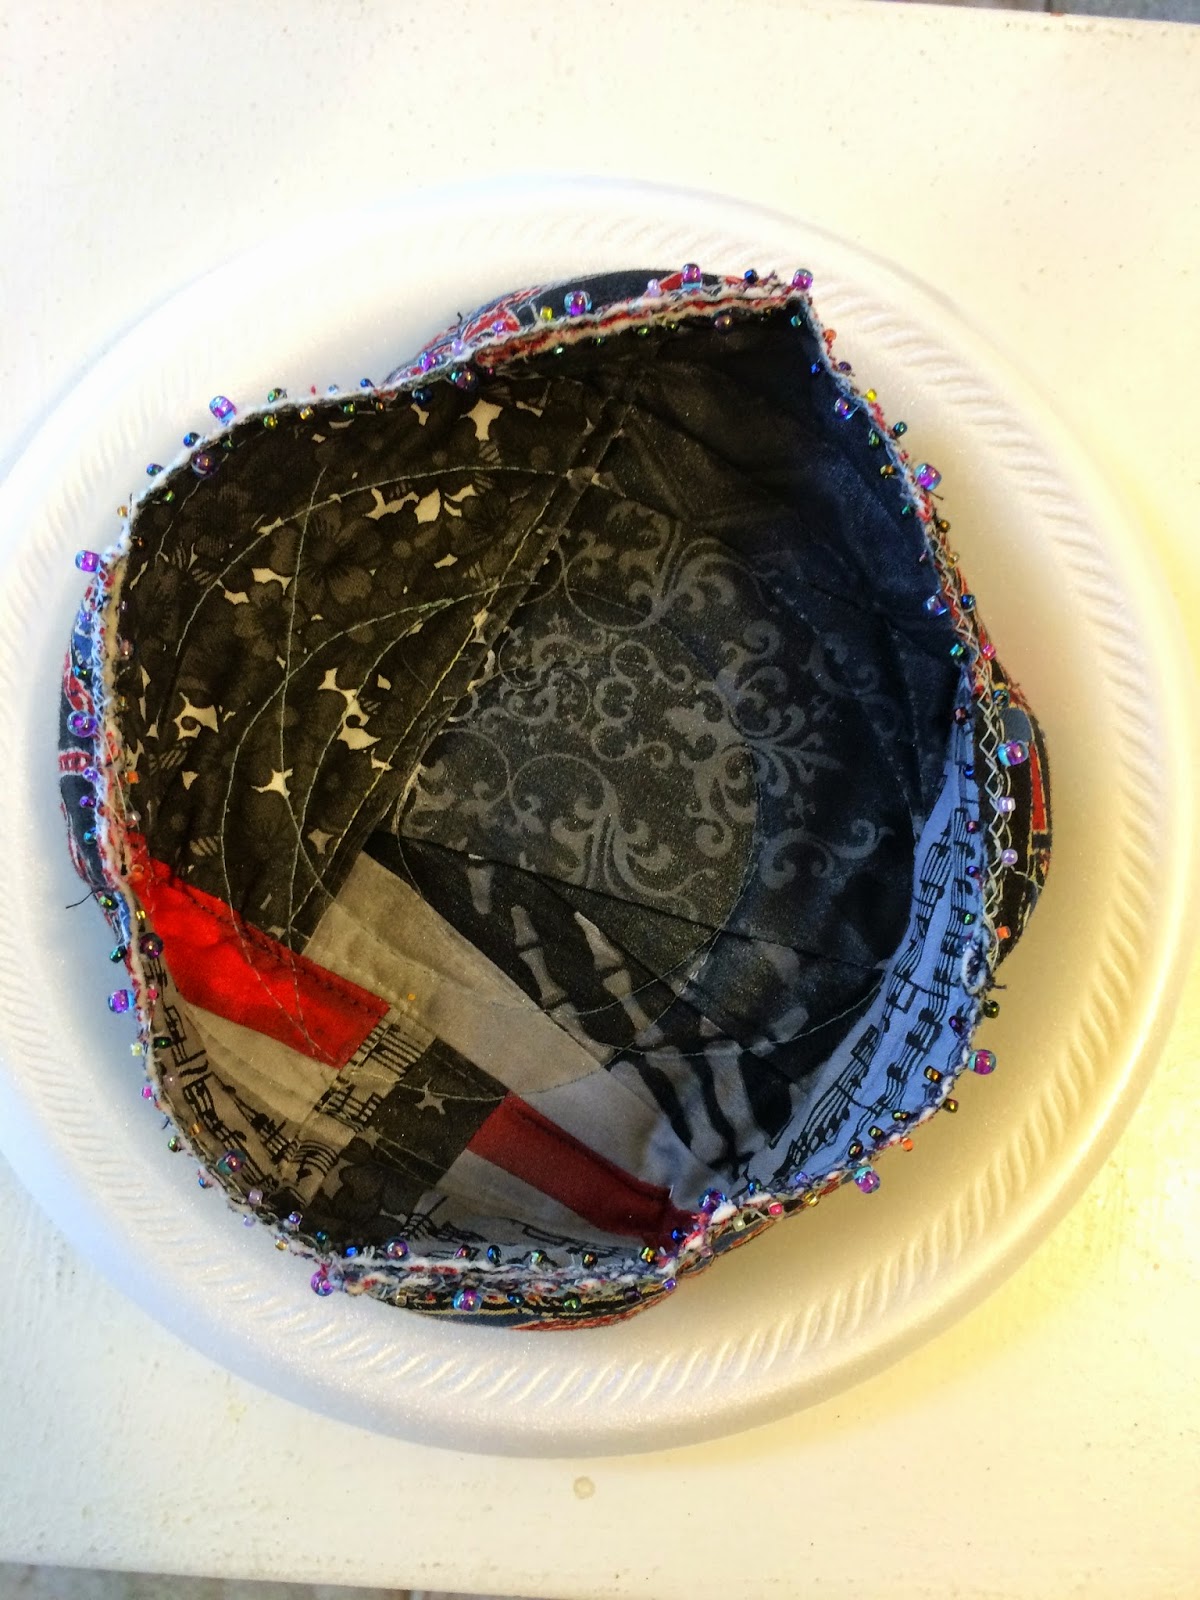
I received a very nice quilted, beaded fabric bowl from Toni yesterday. She cut up a quilt, tucked in the sides, and voila!
In honor of the season, I made some little ornaments for the ladies to select.
Some are made from a piece of needle-felted batik enriched with silk roving and other fibers. The shiny one on the left is made with Textiva film and bits of ribbons and threads that I fused to a piece of Timtex with Misty Fuse.
Here it is, upside down...thanks, Blogger!
I made quite a few of these but they were snapped up yesterday at the art quilt bee meeting! Each one has a little bead, mostly ones that I made from Shrinky-Dinks painted with Lumiere paint.
Roberta made us each a fabric-covered notebook covered in cheery Ultra-Suede.
Sideways this time! What's going on?
Tomorrow it will be Christmas brunch in Wake Forest with my Whacky Ladies bee. I don't get to participate in all their meetings anymore due to the distance involved in driving at night, and also because we often leave for the mountain cabin on Thursday nights. But I am looking forward to seeing them again tomorrow!
Friday, November 28, 2014
Baby Quilt for a Little Mermaid
I finished this baby quilt several months ago, but I don't think I ever blogged about it. I got it done in time for a shower for my daughter-in-law Emily's sister Ellen, back in September.
![]() |
| Kai's Quilt, by Jeanne Turner McBrayer, 2014
This is basically the same pattern as the quilt I made for my granddaughter, Charlie. On this one I used all novelty fabrics for the center squares. A game could be made of finding the two matching center squares when the baby gets older.
I did a curvy freehand quilting on my Gammill long arm, which adds softness to all the squares and lines.
|
The purple mermaid fabric was the main theme fabric for Charlie's mermaid quilt.
I have neither met Baby Kai yet or seen her nursery, since they live in Florida, but it looks like the quilt was a perfect match for the mermaid-themed baby's room.
Monday, November 24, 2014
Watercolor Batiks on Rice Paper
Last week, I took a class with Kathie George at Art of the Carolinas in Raleigh.
I had never tried any kind of batik before. Of course, as quilters, we are all familiar with the lush batik fabrics available to us commercially. This class combined the art of using wax in making a batik with the art of watercolor painting. Instead of using fabric, we painted on rice paper.
Kathie is a delightful teacher who had everything prepared for us, including the Ginwashi rice paper, melted wax in small electric pots, watercolor paints on a palette made from a clear CD cover, and drawings and a reference photo.
The way it works is that you trace the original full-size drawing on rice paper with a Pigma marker, then use a different copy of the drawing to add each layer of wax. The numbered drawings have darkened areas where you apply wax each time. The wax acts as a resist so that when you paint, the waxed area remains the same color that it was. The unwaxed areas keep gaining depth of color. I think we had four or five layers of waxing and watercolor for this fish painting.

Isn't it cool! I had to add additional paint and even some colored pencil marks when I was finished because my fish kind of ran together. I love the cool blue and green washes and the little pops of complementary oranges/yellows.
I enjoyed my batik class with Kathie so much that I tried her technique again at home, using one of her kits.
When I did my original batik in her class, I had difficulty seeing the lines of the drawing, which I traced with a Pigma micron .05 pen.
I had never tried any kind of batik before. Of course, as quilters, we are all familiar with the lush batik fabrics available to us commercially. This class combined the art of using wax in making a batik with the art of watercolor painting. Instead of using fabric, we painted on rice paper.
Kathie is a delightful teacher who had everything prepared for us, including the Ginwashi rice paper, melted wax in small electric pots, watercolor paints on a palette made from a clear CD cover, and drawings and a reference photo.
The way it works is that you trace the original full-size drawing on rice paper with a Pigma marker, then use a different copy of the drawing to add each layer of wax. The numbered drawings have darkened areas where you apply wax each time. The wax acts as a resist so that when you paint, the waxed area remains the same color that it was. The unwaxed areas keep gaining depth of color. I think we had four or five layers of waxing and watercolor for this fish painting.

Isn't it cool! I had to add additional paint and even some colored pencil marks when I was finished because my fish kind of ran together. I love the cool blue and green washes and the little pops of complementary oranges/yellows.
I enjoyed my batik class with Kathie so much that I tried her technique again at home, using one of her kits.
![]() |
| Sunflowers, by Jeanne Turner McBrayer, 2014 |
When I did my original batik in her class, I had difficulty seeing the lines of the drawing, which I traced with a Pigma micron .05 pen.
But what you don't see in the fish painting are the black outlines of the original drawing. When I traced the sunflowers, I used a Pigma brush marker that was noticeable darker. You can see the lines clearly, and it was easy to see where to apply wax. Here is one of the early layers. It almost looks like stained glass.
However, that dark black line remains even at the end of all the waxing and painting. That is not the look I was going for.
However, I like this piece. It is painted on Ginwashi rice paper, a very thin, textured paper which is almost like a delicate fabric. I need to do some experimenting to see if it can be made into an art quilt without the paper tearing when I stitch it. It might need to be coated with an acrylic varnish first.
Kathie mats and frames her pieces, with the batik mounted on a piece of white mat board.
I will have to figure out what to do with these. The underwater ocean scene does not exactly fit in with my mountain cabin decor! It is a really interesting and fun technique, and I recommend taking a class with Kathie George. I am pretty sure I will be trying this on silk or muslin at some point in the future! Not sure if watercolor paints will be the way to go on fabric, but stay tuned!
Sunday, November 16, 2014
Country Road Watercolor Painting
Here is my project from today's class with Tom Lynch at Art of the Carolinas in Raleigh, NC.
I like the back-lit trees, high color and contrast. I think I might paint this one again and try to improve the shapes a little. But this one was a good class with a great teacher. He was very generous with his time and helped each one of us with his critiques while we were painting.
I bought Tom's book 150 Charts. It is not sold in stores. It was pricey, but has lots of helpful techniques, color studies, and how to paint particular items such as trees, water, rays of sunshine/shadow, and waterfall. I know I will learn a lot from studying this book. He had a gorgeous mountain creek and waterfall from another class at AOC this weekend. I wish I had gotten into that class, but it was full.
![]() |
| A Country Road, copyright Jeanne T. McBrayer |
I like the back-lit trees, high color and contrast. I think I might paint this one again and try to improve the shapes a little. But this one was a good class with a great teacher. He was very generous with his time and helped each one of us with his critiques while we were painting.
I bought Tom's book 150 Charts. It is not sold in stores. It was pricey, but has lots of helpful techniques, color studies, and how to paint particular items such as trees, water, rays of sunshine/shadow, and waterfall. I know I will learn a lot from studying this book. He had a gorgeous mountain creek and waterfall from another class at AOC this weekend. I wish I had gotten into that class, but it was full.
| Creek and Waterfall Painting from Art of Carolinas 2014, Tom Lynch |
I have tried two watercolors featuring the waterfall over the dam at our mountain cabin. I am going to try again one of these days, using some of Tom's hints on contrast and bright color.
![]() |
| Peak Creek Dam at Dogwood Time, copyright Jeanne T. McBrayer |
Peak Creek Dam, Creekside View, copyright Jeanne T. McBrayer
Saturday, November 15, 2014
Baby Quilt: Almost Finished
Last weekend I was able to finish quilting the woodland-theme baby quilt on my Gammill before we left the mountains.
There were lots of motifs in the fabrics to inspire free-motion quilting designs.
Mostly I did swirls, leaves, and curves to sort of echo the circles in the border fabric and add texture.
I have also sewn on the binding to the quilt top, but have not hand-stitched it down to the back yet. It will be a diagonal stripe.
This weekend I stayed home from the mountains in order to attend Art of the Carolinas in Raleigh. I feel lucky to be only twelve minutes away from this venue. I have met many students who flew in from Colorado, South Dakota, Michigan, Florida, and other faraway places to take advantage of the many classes and instructors who are here for this conference. There is also a huge trade show which I visited before my class on Friday night. I have one more class tomorrow morning. So far I have finished one painting, but don't know what I will do with it yet. It is a watercolor batik on rice paper. I have one watercolor class to go, tomorrow morning with Tom Lynch. Photos to follow!
Meantime, the Raleigh area is still enjoying the autumn colors. It turned a lot colder on Friday, but it is still beautiful outside. Here are some pictures of the pond at my Raleigh home.
There were lots of motifs in the fabrics to inspire free-motion quilting designs.
Mostly I did swirls, leaves, and curves to sort of echo the circles in the border fabric and add texture.
I have also sewn on the binding to the quilt top, but have not hand-stitched it down to the back yet. It will be a diagonal stripe.
This weekend I stayed home from the mountains in order to attend Art of the Carolinas in Raleigh. I feel lucky to be only twelve minutes away from this venue. I have met many students who flew in from Colorado, South Dakota, Michigan, Florida, and other faraway places to take advantage of the many classes and instructors who are here for this conference. There is also a huge trade show which I visited before my class on Friday night. I have one more class tomorrow morning. So far I have finished one painting, but don't know what I will do with it yet. It is a watercolor batik on rice paper. I have one watercolor class to go, tomorrow morning with Tom Lynch. Photos to follow!
Meantime, the Raleigh area is still enjoying the autumn colors. It turned a lot colder on Friday, but it is still beautiful outside. Here are some pictures of the pond at my Raleigh home.
Saturday, November 8, 2014
Work in Progress: Reversible Baby Quilt
When I was at the Ashe County Piecemakers' Quilt Fair in West Jefferson, NC recently, I bought some fabrics to make baby quilts. I got one top put together.
The black curvy borders are part of the printed fabric. I just had to cut apart a cheater cloth panel, sew some big blocks together, and add the small inner border and the outer border with corner post.
I love seeing the reflections of sky and tress in the water.
Heading home tomorrow, but maybe I will be able to quilt the baby quilt before we go.
The black curvy borders are part of the printed fabric. I just had to cut apart a cheater cloth panel, sew some big blocks together, and add the small inner border and the outer border with corner post.
I could not find a piece of fabric in my stash that I liked for the backing, but I had a package of 8-inch squares in black and brown prints that I won from some Internet give-away. I decided to pull fabrics from my stash in coordinating colors and piece a colorful back.
We are in the mountains, but I have not gotten it quilted because my brother-in-law and my husband were framing in the basement, where my long arm machine is located. They worked around it and all my stuff, and got a lot done. It looks a mess, but a lot of progress was made.
This is going to be a bathroom with a bathtub/shower unit. It will be nice to have a bathtub for when our toddler granddaughter is visiting. Our other bathrooms just have showers.
It is nice up here this weekend. Yesterday was very cold and windy, but today the wind laid down and I enjoyed a pretty afternoon walk along the creek.
I love seeing the reflections of sky and tress in the water.
Subscribe to:
Posts (Atom)