Showing posts with label Strathmore Online Workshops. Show all posts

Wednesday, March 21, 2018

Facial Features Study

Today I tried painting facial features with watercolor, following Kelly Eddington's Part 3 workshop on Strathmore Artist Workshops.


First we created our own toned paper using a pinkish blend of paint.  I am working in my Strathmore Watercolor Visual Journal.

After drawing from some reference photos, we chose one dark color, and began painting.  I used Payne's Gray, which I rarely use, but wanted to try for this exercise.

In this workshop, there are written instructions to go along with a fast-paced video.  I had to stop the video again and again, and wished it could progressed more slowly.  

This is what my page looked like before the final step, which was to add highlights with white acrylic paint.  I also darkened some of the areas with more Payne's Gray.

Facial Features, work in progress


This was a great lesson on painting eyes, noses, and mouths.  I think I will continue practicing!

The other lesson from this workshop was painting shiny gumballs.  We used masking fluid to preserve some of the shiny highlights on the balls.

Gumball Study

Last weekend we went to Asheville, North Carolina, to celebrate Charlie's birthday and visit with friends and family.  Asheville was in full bloom, unlike our more northern mountains. 


 We visited several of the area breweries and also the Biltmore House.  The costumes from the movie Titanic are on display in the rooms of the mansion.  The exhibit is well done, with manikins, great signage, and gorgeous flower arrangements.  It was a good weekend.


Thursday, March 8, 2018

Painting Blossoming Trees on a Snowy Day

Strathmore Art Papers has just begun the first of its free online workshops for 2018.  The first is Realistic Watercolor for Beginners, with instructor Kelly Eddington.  I like to participate in these, and pick up whatever new tips I can glean.  You can register on the web page.  There is a video, materials list with instructions, student galleries, and forums for questions or discussion.

The first lesson is on using masking fluid to make apple blossoms on a tree.  I must admit that I do not like to take the time to apply mask and let it dry before painting, and I have never been very good at making the shapes I want with masking fluid.  Kelly suggested using a masking pen, so I have ordered one (Molotow GRAFX Masking Fluid Pump Marker).  Here is my first painting. It is actually on a Strathmore watercolor note card.


The brush I used to apply the masking fluid was small, but too soft, and the blossoms spread out more than I liked.

I did a second painting, putting apple trees into the scene that is outside my studio window here in the North Carolina mountains.  We have a Christmas tree farm across the street. I used masking fluid in the creek and on the rocks, as well, 


And to practice one more blossoming tree, I painted one in my interleaved journaling Bible.

James 1:17.  Every good gift and perfect gift is from above, coming down from the  father of Light, with whom there is no variation or shadow due to change.

Some good news this week:  Charlie and I went to Charlotte on Monday for a follow-up visit with my orthopedic surgeon.  I had a total ankle replacement on January 9.  Dr. Davis was very pleased, and released me to start physical therapy and DITCH the Star Wars boot!  Hooray!  I went to physical therapy, and was told I had the prettiest post-surgery ankle she had ever seen!  Okay, then! Not that I have a pretty foot, but there was very little swelling, bruising, or scarring, and good range of motion.  That was very encouraging!  Now I have a small brace that is little more than a wrap.  She also wants me to walk with a cane to improve my gait.


I have almost two months before I need to be able to walk all over the hilly campus at the Merlefest music festival, so that is a good motivational goal.  


Friday, June 10, 2016

La Vie on Rose

This week has been kind of slow as I recovered from minor surgery.  I managed to get a little bit of painting done in between naps!

I decided to finish the roses from the Strathmore Online Workshop with Steve Mitchell  (The Mind of Watercolor.)  When last seen, I had done the first washes on the roses.  Here is how they turned out.

This is the one in my watercolor journal. I am pretty happy with it.


This is the first one I tried, on watercolor paper.  I liked it okay, but thought the edges looked too hard.  I sprayed it with a fine droplet sprayer to soften the leaves and petals.  Not sure how great that looks, but it is what it is.


And since I was practicing watercolor roses, I added one on my latest Bible journaling page.


This is actually my favorite Bible verse  (Philippians 4:6), and now it is my favorite Bible journal page.

Tomorrow we leave for our annual family beach vacation.  Look for lots of photos and maybe some art journaling while I am there!


Tuesday, May 17, 2016

Strathmore Online Workshops- "The Mind of Watercolor"

Once again I am participating online in a free art workshop offered by Strathmore Artist Papers.  This time the theme is The Mind of Watercolor, and the instructor is Steve Mitchell.  Steve has many instructional videos on You Tube.  For the Strathmore workshop, we did a landscape first, and are now working on a botanical painting of a rose.

Here is my finished landscape.


I am finding the rose more difficult.  It requires more precision and taking the time to paint petal by petal.  I have tried two versions for the first layer.

I think the first one is a little dark for the first wash.


The second one is in my watercolor journal  I don't like the drawing as well, but am pretty happy with the first wash of watercolor.


And here is one more Bible art journaling page.  The other side of this page was already painted and lettered with very dark colors that showed through.  I gave this side two coats of clear gesso.  Then I painted mostly with my new Inktense pencils and blended with water.  I added some dark Royal watercolor.  There was still some ink showing through in the yellow sky, so I printed the scripture and added it there.  I was pretty pleased not only with saving this page, but the outcome of the painting.


Wednesday, April 8, 2015

Printing 101

I have been taking part in the Printing online workshop with Traci Bautista at Strathmore Online Workshops.    Traci has a very loose, modern, colorful style, but her methods could be applied to many types of mark-making and printing on paper or fabric.  Most of my prints have been on Strathmore Printmaking Paper, 300 Series.

Traci takes us through the process of making masks, stencils, and using both positive and negative images.

The first one shows a background printed with needlepoint grid, a mask and stencil I cut and used to print.  The dark blue is a watercolor paint diluted with water and sprayed through the stencil.


You can see the same leafy stencils used in a different color palette.  The square shapes are from my 6" x 6" Gelli Plate.  The black flowers are from a hot glue flower that I made and used as both a stencil and a stamp.


Traci is all about not wasting the paint left on the printing plates, stamps, or brushes, so you need to have journals and lots of papers ready to print the extra paint.  Here are pages in my Mixed Media journal absorbing some of the extra paint.  I used white ink around the darkest leafy shapes.


Here are two shapes I cut to use as stencils/stamps.


And here are some of the prints made from them.

The first one has a background with lots of marks, stamps, and doodles in oil pastel and acrylic paint. Then I printed the dark flowers with the Gelli Plate.  Looks a little like Matisse to me!


This one is mostly "ghost prints" from using the extra paint on the gelli plate and hot glue stamp.


Here is another with the background from Week 1, added doodle, and the black gelli plate print of the fern.


 The next two are just on computer printing paper, again extra paint absorbers.


 Here is one that is sort of a hot mess of doodles, paint, and prints.  Might make a good background!


For a very different look, I changed to a warmer palette and made some interesting bright prints.  The plaids are from notching the edge of a credit card and scraping it through the paint on the Gelli plate. The big black areas did not work out, so will be covered with something else.


 It is very messy and time-consuming to go through this layering process, but you can produce some very unique papers.  Of course, you can print fabric the same way.  I would probably use fabric paint and/or mix a textile medium into the acrylic paint if I wanted to sew through it.

Have fun!


Thursday, September 11, 2014

Watercolor Backgrounds

There is a new free online workshop at Strathmore Artist Paper website.  This one is titled Watercolor Sketching & Journaling; Instructor: Gay Kraeger.  You have to register for these, but it is easy.  Once you register, you can view the videos, join public discussion forums, and post pictures of your work for critique or comment.

The first lesson dealt with materials and also how to do a wash.  Then very quickly, Gay showed us how to do a landscape using watercolors.

This is my attempt at the landscape.  The wash for my sky was not too successful, but I had never seen anyone do a wash like this instructor, using the side of a small brush.


This one will probably be cut into strips for bookmarks!

There was also a lesson on mixing secondary colors from the three primary colors, and I had fun making my oranges, purples, and greens.


I have done a few watercolor backgrounds and fun things just splashing color on paper.


I think the last one looks like an abstract mountain/river scene and I like the colors.


Thursday, May 22, 2014

Two Little Watercolors


 I did two little paintings to thank my kids for my Mothers' Day surprises.


You can buy ready-made watercolor paper cards and postcards.  Usually I use a color photocopy on card stock of one of my paintings, but I made originals for these.

I also did a page for Week 3 of the Strathmore Online Workshop with the Journal Junkies.  This one was about incorporating text onto the page.  


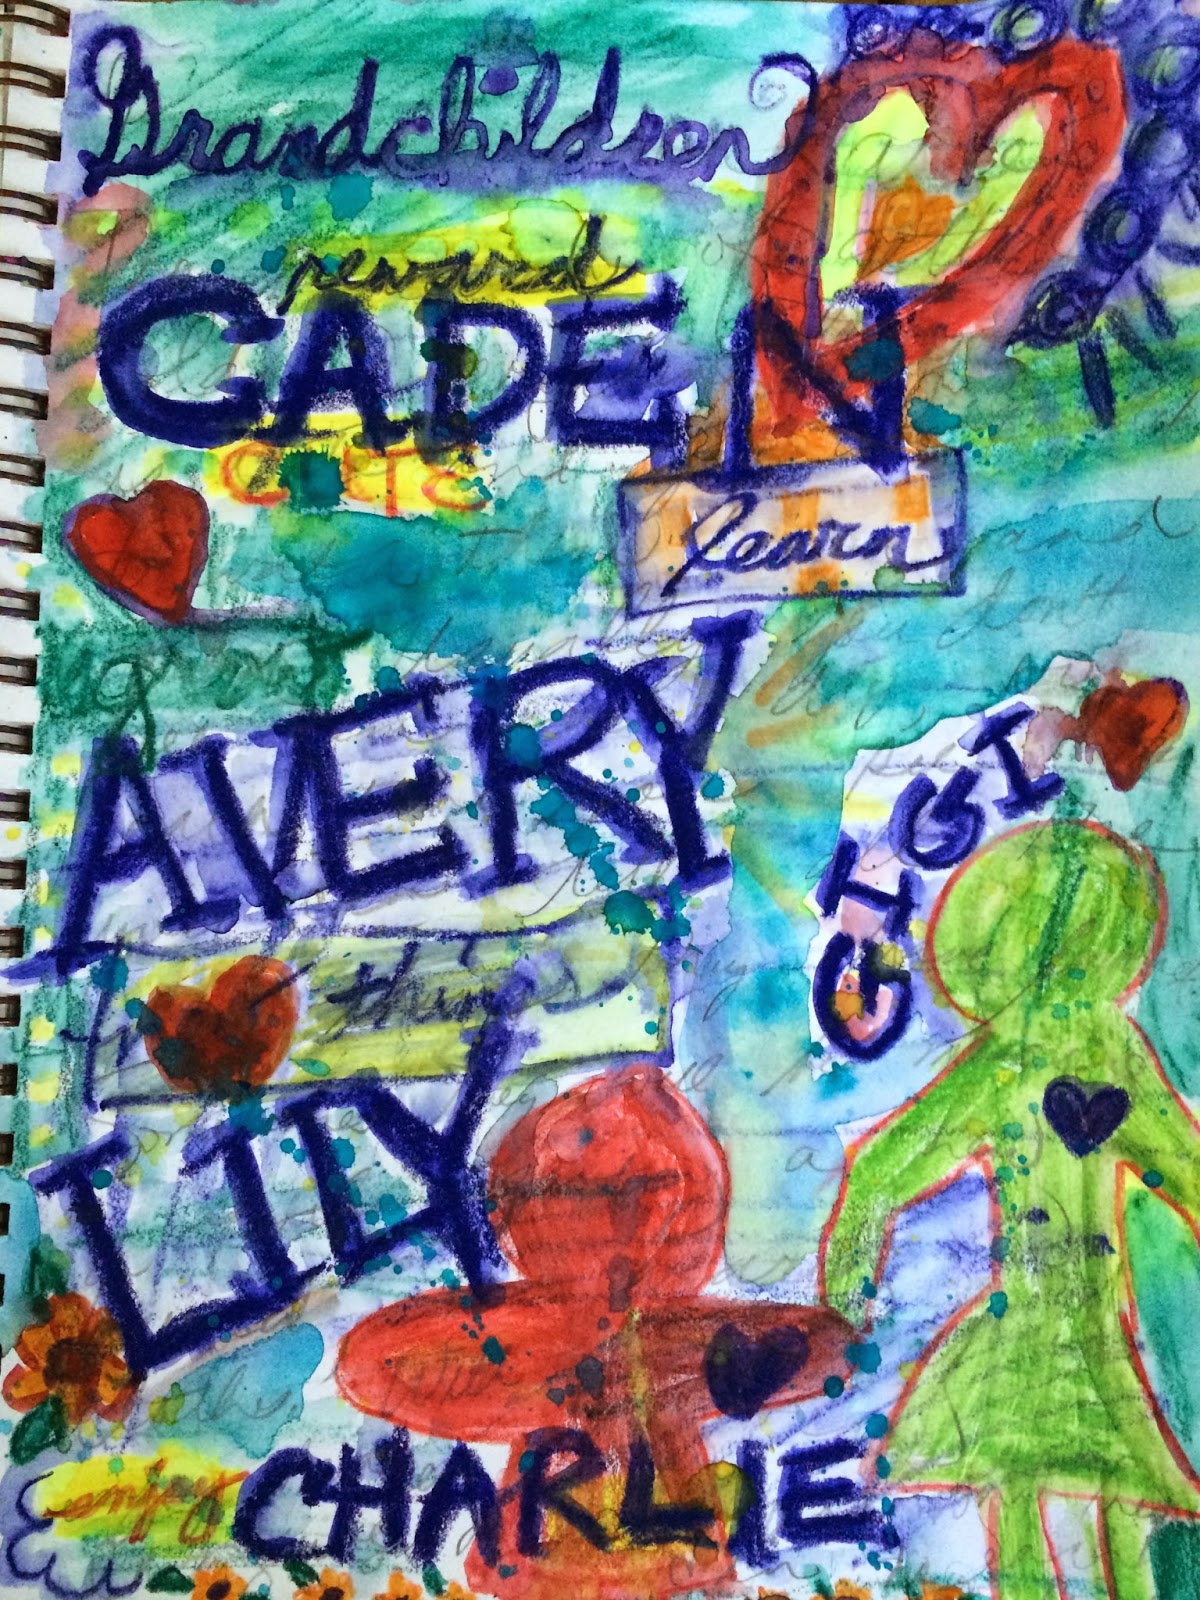
And here is a picture of my littlest grandchild, Charlie, looking cute as a bug!  We have been enjoying playing outside this week.


This is Memorial Day weekend in the USA, and all our kids and grandkids will be joining us at our new mountain cabin.  It is supposed to be very warm and sunny.  We are hoping to do some creek sitting while they are here!


Wednesday, May 14, 2014

Strathmore Free Artist Workshop 2: Visual Journal Fodder

Visual Journal Fodder,  the second of the 2014 free Strathmore Online Workshops began May 5, and this time the instructors are David R. Modler and Eric Stott, the authors of The Journal Junkies Workshop.  I purchased that book a couple years ago.  I used it as a guide to make my Grow Old With Me collage.


These online workshops are a great bargain.  (Can't beat free, right?)  Each workshop has four weeks of lessons, which include videos and written instructions.  You don't have to use the exact materials that are listed, just whatever you already have.

Week One is titled Engaging the Page with Watercolor Paint.  Several fun techniques for backgrounds are included.

Here is what I did for the first week's lesson.

Splattered some paint, stenciled, added salt


Stencil, several shades of watercolor paint


Pulling string through paint on page, stencil (isn't the Pomegranate stencil cool?)


Rubbing alcohol drops on wet watercolor, a little stenciling, some salt


This one is just blocks of Caran d'ache water-soluble crayons activated with water.


This one has watercolor through a very interesting new stencil of two trees.  I think I used some saran wrap on the blue section of watercolor and got that crackled effect.


Week Two: Building Layers with Watercolor had us dividing the pages into geometric shapes with watercolor pencils, then activating the pencil with water, watercolor paint, or water-based markers.  There is some additional layering with watercolor pencils (the short and long lines.)


I went a little crazy on the next one.  I used the Caran d'Arch Neocolor II water-soluble crayons to make the outlines of the shapes.  I used some additional watercolor paint on the backgrounds.


All of these are just backgrounds.  I'm not sure if we will be adding to them during the subsequent lessons, or just adding on to these as we feel inspired.  All of my pages from the workshop are in my Strathmore Visual Journal Watercolor book.  It has a spiral binding so it lies nice and flat, and the pages are heavy enough that they do not buckle.


If you have not tried art journaling, why not sign up for this free online workshop and try some fun art techniques?


Sunday, February 5, 2012

Another Lady's Face

When I went upstairs to get the backing fabric for the Cassatt art quilt, I saw my unfinished lady's face on another painting...and decided to work on her instead.

Island Girl, Jeanne McBrayer, 2012

She is done in acrylics.  Some of the background is colored with water-soluble crayons and outlined with paint markers.  No collage this time, I just drew on the paper to make the doodles.

I'm not sure why I am creating all these island girls, except that this time last year I was planning to leave for a dream trip to Hawaii!

But anyway, I did finish stitching the autumn barn, and it is ready to be machine-quilted.

I will quilt in some lines on the barn to represent the boards, and add more branches and tree trunks.  I am thinking that this one might get a little paint embellishment after it is quilted.  I want to catch that sunlight hitting the goldenrod and the autumn foliage.

So, what did you think of 53-year-old Madonna cavorting at the Superbowl halftime show?  Pretty obvious she was lip-syncing, but the Material Girl still looks awful good, doesn't she?

And Now, Something Different

I have posted before about the 2012 free Strathmore Online Workshops.  The first one is hosted by Traci Bautista and is called Doodles Unleashed.  In the fourth lesson, we created a beautiful background with acrylic paints, stamps, stencils, doodled text, etc. 


We also created doodles on a separate sheet with India ink and paintbrush.


The final step was to paint a face onto the background, and collage some of the ink doodles as a headdress.  Traci's looked like this one on the cover of her latest book.


She creates stylized lady's faces that she calls "glam girls" who have one very elaborate eye, no nose, sexy lips and curly long hair.  They also tend to have green, purple or other colorful faces.

I did not want mine to be a copy of Traci's.  Since I have been trying to paint faces for awhile, I decided to try a more realistic face.  When I collaged some of my doodles, the India ink smeared all over.  I had to repaint them.  Here is what I came up with.

Island Bride, mixed media painting by Jeanne McBrayer

She ended up being a bride because I went a little too wild when I painted in her hair.  I gessoed over the black paint, and it looked like a bridal veil.  So I added some stenciling with white acrylic paint.

I have no idea what I will do with this.  Maybe cut it up into postcards or journal covers?  It is fun to try new techniques.

I also began several other backgrounds that have faces in progress, so I will get to those sometime this week.

Are you ready for the Super Bowl?  It is cold and rainy today.  I think I will spend the afternoon before the big game quilting my Cassatt portrait, and maybe its companion, the barn picture, as well.  I have almost finished stitching it.