Showing posts with label die-cut flower applique quilt. Show all posts

Thursday, December 16, 2010

Some Cheery Quilts on a Blah Day

Remember that rare December snow I mentioned a couple weeks ago?  It did it again this morning.  We woke to big chunks of snow falling, and the ground and roads covered.  My hubby took Sweet Sue the Subaru to work and had no trouble.  She is made for the snow!


Now it is just alternating between wintry mix and plain old rain.  Very gray.  Here are some cheerful quilts that I have done for customers to brighten the day.

I have finished two more of the die-cut quilts for Martha.  The first one is in the same fabric line as two that I did for her students Jean and Tammy back in October.  This time, Martha used a shape that is used to make stars or Dresden Plate type blocks, covered the petals with scalloped circles, and ended up with a quilt resembling a Grandmother's Flower Garden!


Again, the shapes are just basted onto the quilt top with glue stick.  They are narrowly overlapped at the sides.  I was somewhat fearful of my fingers as I zoomed around the shapes trying to catch both petals with the quilting to hold them together!


The raw edges will fray and become "shabby chic" if Martha chooses to wash the quilt.

Look how cute the backing fabric is.


Well, if that's not perky enough, here is a second quilt made from the new Stampin'-Up fabric collection by Martha's student, Susan Elise from Norfolk.  It is just like the one Martha made.


For this quilt, Susan wanted a cherry red thread.  No problem....except that the backing is a pale blue solid fabric in a high thread count.  And that red thread kept breaking.  It is hard to disguise any knots or blobs when the thread contrasts so highly with the fabric.  But- I "gotter done!"


Today, I have a special project:  four applique's in summery motifs!  These were the pieces that my friend Carolyn used to learn how to applique from Jean, the expert in our bee.  I need to take some of those private lessons- these turned out so cute!


The last one insists on changing its orientation to landscape...don't know why!


Sunday, November 14, 2010

Seashell-Themed Quilting

If any of you longarm quilters need a steady stream of business, try to hook up with a Stampin'-Up demonstrator.  Martha Armstrong in Zebulon likes to teach classes on making these die-cut flower quilts with the Big Shot die cut machine.  Then she sends them to me to get the tops quilted.  I got three more yesterday, and I just finished this one yesterday.   Sue's quilt featured seashells in the border fabric, and is to be used in a cabin cruiser as they travel the Intercoastal Waterway.  So, I figured out how to quilt in some seashell designs among the wavy water.


I practiced drawing them first on a piece of paper, then added them in to the larger areas of space on the background fabric.


I actually did separate designs in the borders this time, just because I felt like it. 


My favorite shell to seek on the beach is the sand dollar.  So, I had to add a few of those.


I got tired of making starfish and clams, so I tried a few crabs.


Today I am heading back to the North Raleigh Hilton for the trade show at Art of the Carolinas.  It was not open on Thursday when I took my first class.  I hear there will be demos and good sales.  After my watercolor class, I found out I need a round palette and an assortment of Winsor and Newton paints.  And some Yes paste. 

Later this afternoon, it will be Zentangles and Watercolors with Suzanne McNeill.  Can't wait!


Wednesday, April 28, 2010

Spring Meadow quilt

Here is another of the quilts made from the die-cut machines (Big Shot) sold by Stampin-Up rep Martha Armstrong of Zebulon.  Martha must have had a good year...while I am slaving over her quilts, she is off on a cruise to the Bahamas that she earned from Stampin-Up.


This one has a lovely color combination of yellow, blue, and green.  It has a square shape for the outer petals, rather than a third round shape. 


 The flower shapes are just attached to the background fabric with glue stick, so I have to go around each one to attach it to the quilt.


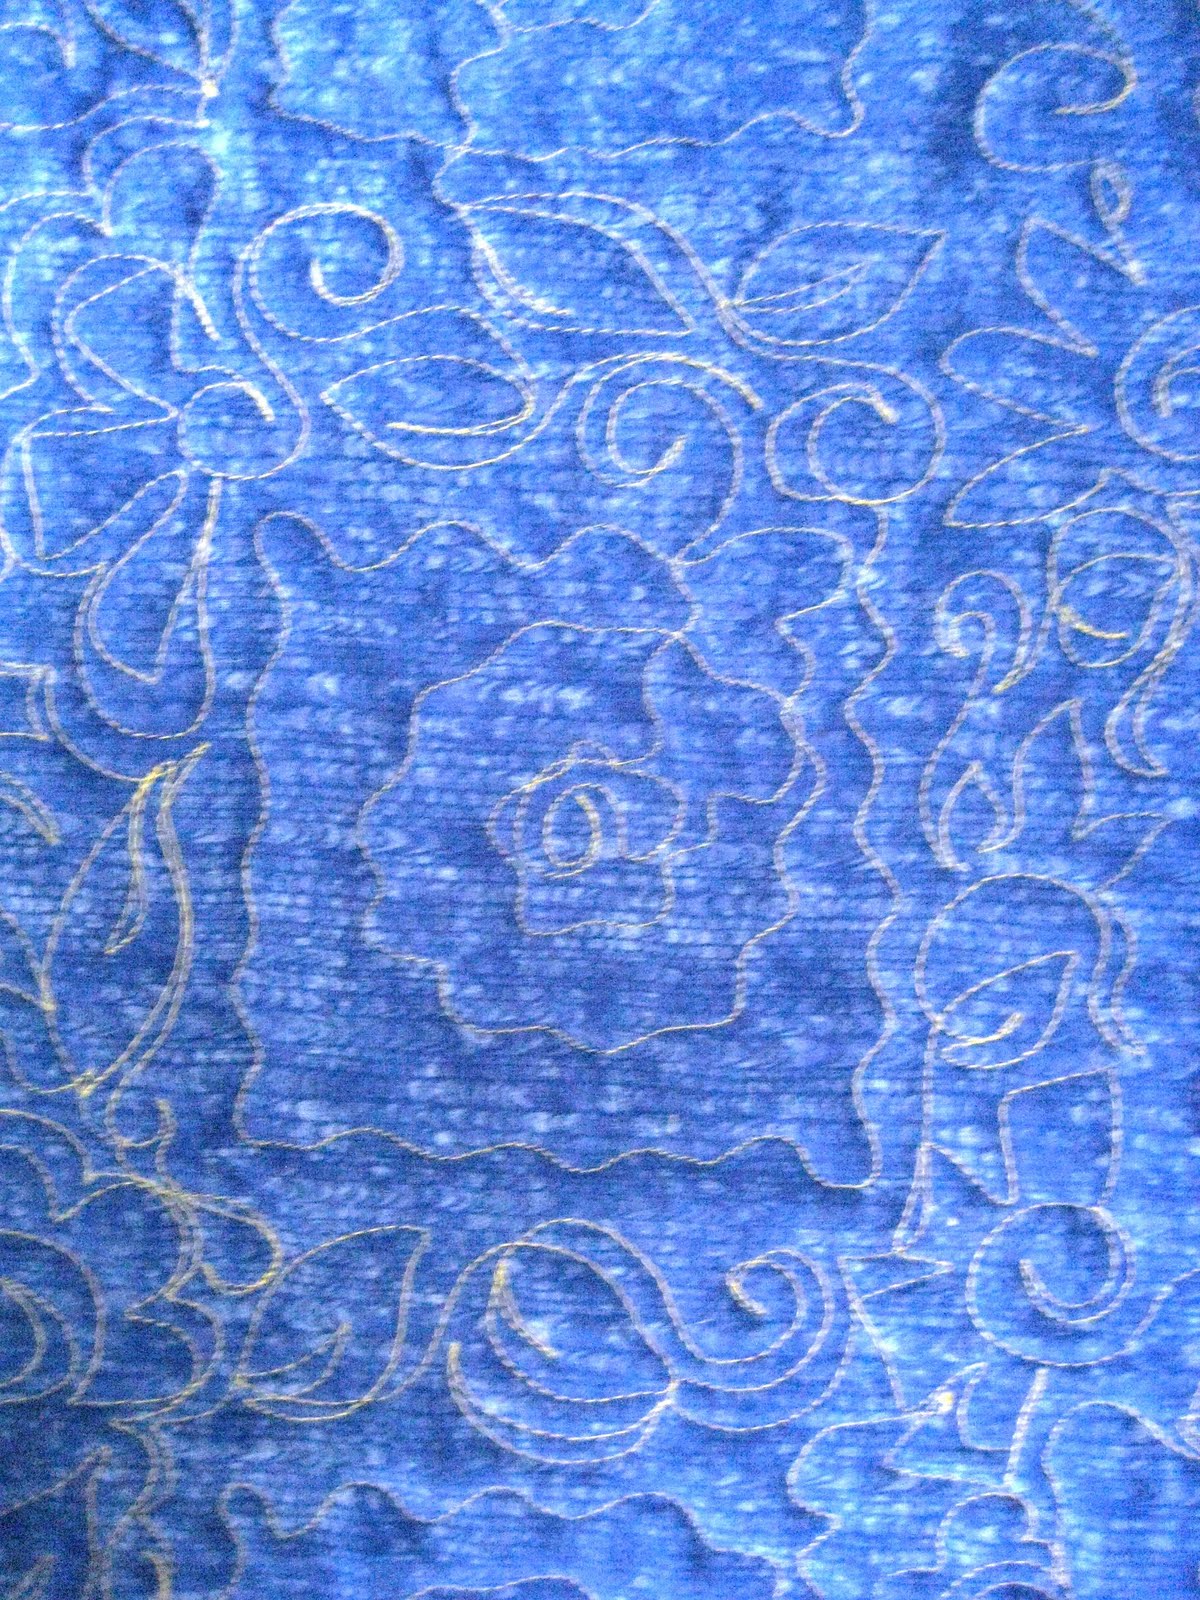
The backing is a bright blue, which really shows off the yellow thread of the quilting.


You can see from the back how I framed each flower with leaves and vines, then went in and out of the flower rings with a wavy freehand circle.


This quilt reminds me very much of the fabrics and colors in a Yellow Brick Road quilt I made when I first got my Gammill.  I call it "My Favorite Things."  The prints have hummingbirds, dragonflies, flowers, an angel or two...


For some real spring pics, here is a shot I was able to get while Mama and Papa Bluebird were out of the box and not guarding it from their usual branch.  There are five babies, although only four beaks show in the picture.


Here are some woodland violets that I photographed in the mountains last weekend after it rained.


And this good fellow was looking rather grumpy and red-eyed after the night of rain. 


And finally, here is a blue salvia that I planted where our driveway forms a "U" going uphill to the cabin.


I am also still working on the online journal class, and hope to have two more pages finished by tonight using paper collage on watercolor backgrounds. 

Thursday, December 3, 2009

Autumn Colors "Flower Power" Quilt


My customer Susan of Stampin-Up brought me another die-cut flower applique quilt in lovely fall colors. She sells the Big-Shot die cut machine, which can cut eight layers of fabric at a time. She buys the Moda "Layer Cake" fabric selections of 10-inch squares, and uses three sizes of the scalloped edge flowers.

She chose a variegated King Tut cotton thread called "Old Giza." (They definitely have fun thinking up names for these Egyptian cotton threads!) It shows up very well on the yellow background and orange borders.


I free-hand quilted lots of flowers and leaves and vines. I had leaves swirling around each flower. Then I had to go into each layer of every flower to quilt around them, as they were only glue-basted to the background. If the quilt is washed, those scalloped edges will fray for a shabby chic effect.

Using a variegated thread with both dark and light areas brings up the problem of what to use as a bobbin thread.In a perfect world, you will never see evidence of "pokies" or thread showing, and shouldn't matter if you use different colors. But it is not a perfect world, is it? If you use the variegated on the back, the color changes will never match. I usually select a Super Bob bobbin with Bottom Line thread in a neutral color. This time, when I auditioned a rust-colored thread, it showed up on the yellow top threads. I ended up using a light golden brown thread called Baguette, but it did show up slightly on some of the dark blue thread areas.


The back is a dark sage green with a rust-colored leaf outline print. If I had used the rust thread on the back, it may have looked a little confusing, but the Baguette shows up nicely.


One customer quilt to go before Christmas...and it is MONGO! But very pretty.